
4-wheel walker HEIGHT EXTENSION
Extending the handles of a 4-wheel walker using 3D printed parts and carbon fibre tube.
The Challenge
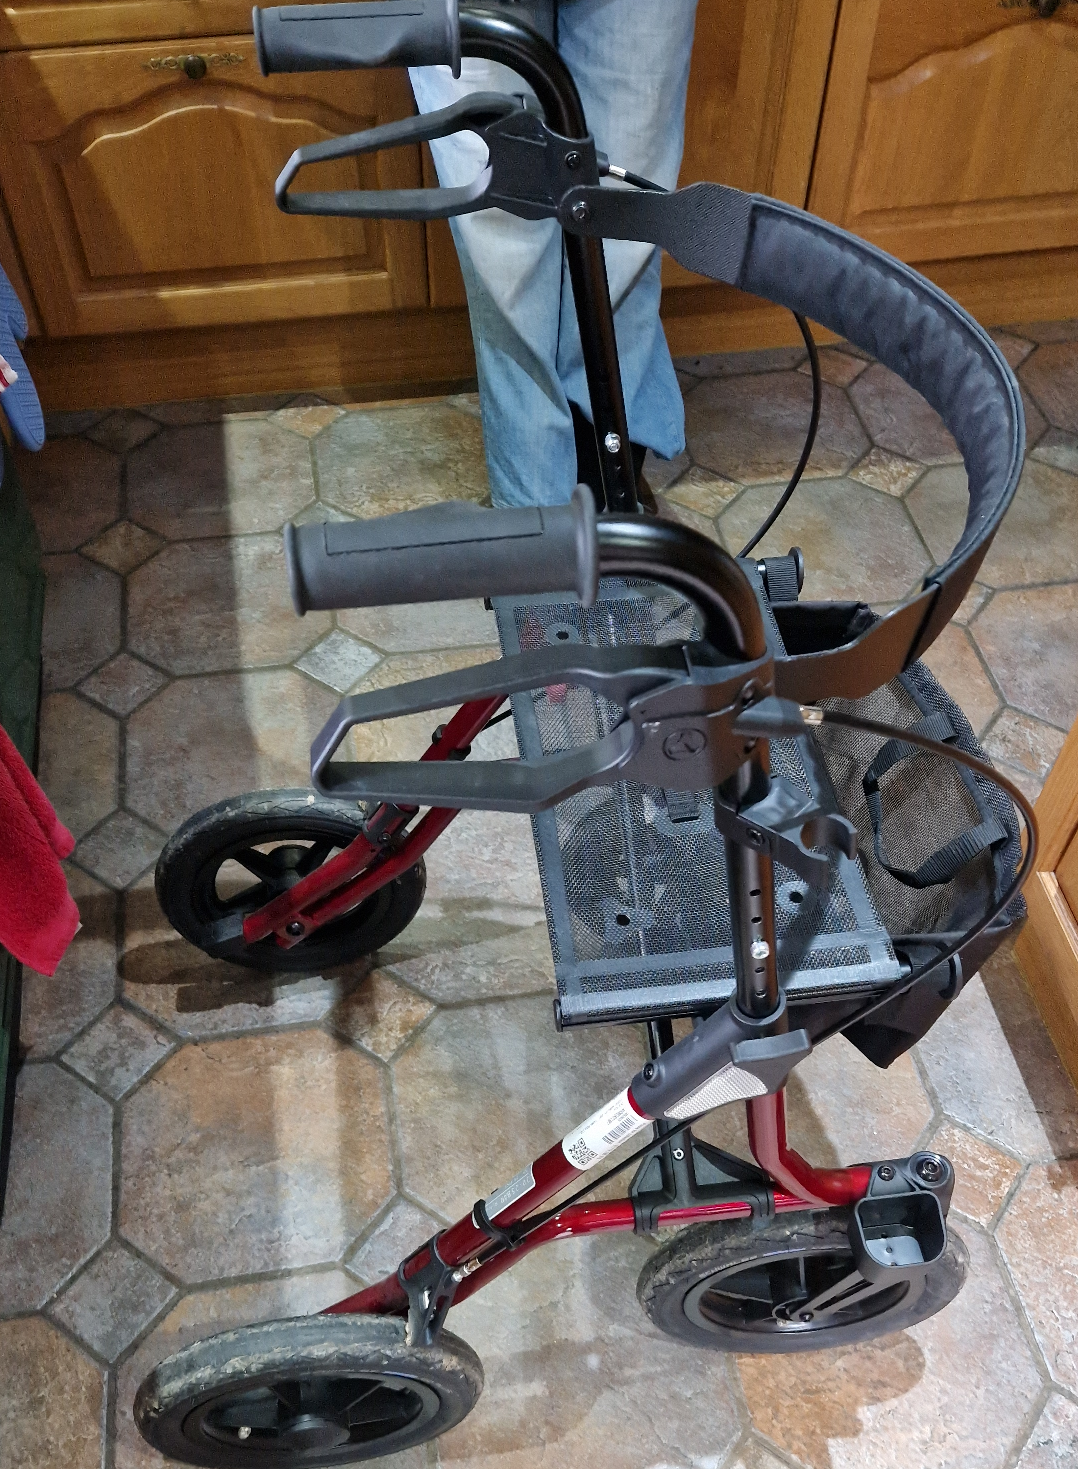
The client is a tall gentleman of 65+ years. He requires a 4-wheel walker, a “wheeler” (a Dietz TAiMA XC) to assist with his balance due to osteoarthritis of a knee when walking outside. The gentleman has also had sections of his skull removed leaving him extremely vulnerable to brain injury.
Despite being given the largest model of wheeler in the Dietz range, the gentleman was stooping when using the wheeler and REMAP was asked to assist.
The wheeler is of tubular steel construction with the handles being independently adjustable, in 25 mm increments, adjustment achieved by removing an M6 fixing with a triangular handle/head.
The client was suffering back pain on top of his other pains due to stooping to use the walker.

Client stooping to use the wheeler.
The solution
Not having access to a machine shop but having access to SolidWorks CAD software and 3D printers the author designed a stepped sleeve extension that would slide into the tubular handle and the tube into which the handle normally engages.
The author considered that a wholly 3D printed part would not be sufficiently robust, and resolved to create a sleeve that is a close fit to a relatively thick-walled carbon fibre tube. Initially, the author thought of making the 3D printed part as 2 parts, however, the design evolved into a single printed part.
The AM Sleeve
The sleeve design is pierced in 5 places with holes at the same pitch as the holes in the wheeler. The features provide, when used with drilling jigs, indexing points for drilling, after assembly of the extension.
Assembly
The carbon fibre tube was bonded into the printed sleeve with a long pot-life epoxy adhesive, to facilitate easy assembly the author designed a printed a “funnel” to clamp to the sleeve and “saddles” to penetrate/cover the holes in the sleeve. All the saddles and the funnel being coated in a mould release made from beeswax and natural turpentine. The turps being permitted to evaporate before assembly.
For final assembly of the sleeve assembly the author applied a small quantity of the epoxy to the inner neck of the sleeve and more around the carbon tube. The epoxy that the author used is quite viscose and he found it necessary to run beads of the epoxy axially along the tube and, while rotating the tube, pushing, and pulling into and from sleeve to ensure that the tube was fully coated with adhesive, there being a nominal 0.1 mm gap between the two parts.
The bonded assembly was given fully 24 hours to cure before the removal of the saddles and the funnel. The beeswax release agent worked, as expected, very well.
After cutting away the excess tube and small truncated cone of epoxy bonded to it, the author used 2 printed drilling jigs to clear drill the carbon tube. From experience, the author knew that he would need drilling bushings to achieve reliable results. A dowel pin was used to locate the jig on the sleeve.

The photo shows the two inserts, one being bonded, and the second ready to be bonded.
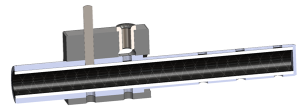
Drilling jig and insert.
The benefit
The client is now much happier when using the wheeler when walking.
- Skills involved:
- Issues Addressed:
- Activities Helped:
- Location:
- Solution:


brilliant solution. I do hope Remap can find a volunteer to do something similar for my hubby. I have registered with you.
Thank you, Jackie! I hope we’re able to create something similar for your husband.